
# Acurite Weather Station Installation Guide
Installing an Acurite weather station can be a rewarding experience, providing you with accurate and real-time weather data right at your fingertips. Whether you’re a weather enthusiast or simply want to keep track of local conditions, this guide will walk you through the installation process step by step.
## Choosing the Right Location
The first step in installing your Acurite weather station is selecting the ideal location. Proper placement is crucial for accurate readings. Here are some tips to consider:
– **Avoid Obstructions**: Ensure the area is free from tall buildings, trees, or other structures that could block wind or sunlight.
– **Elevation**: Mount the sensors at least 5 feet above the ground to avoid interference from ground heat or cold.
– **Distance from Electronics**: Keep the sensors away from electronic devices that could cause interference.
## Assembling the Components
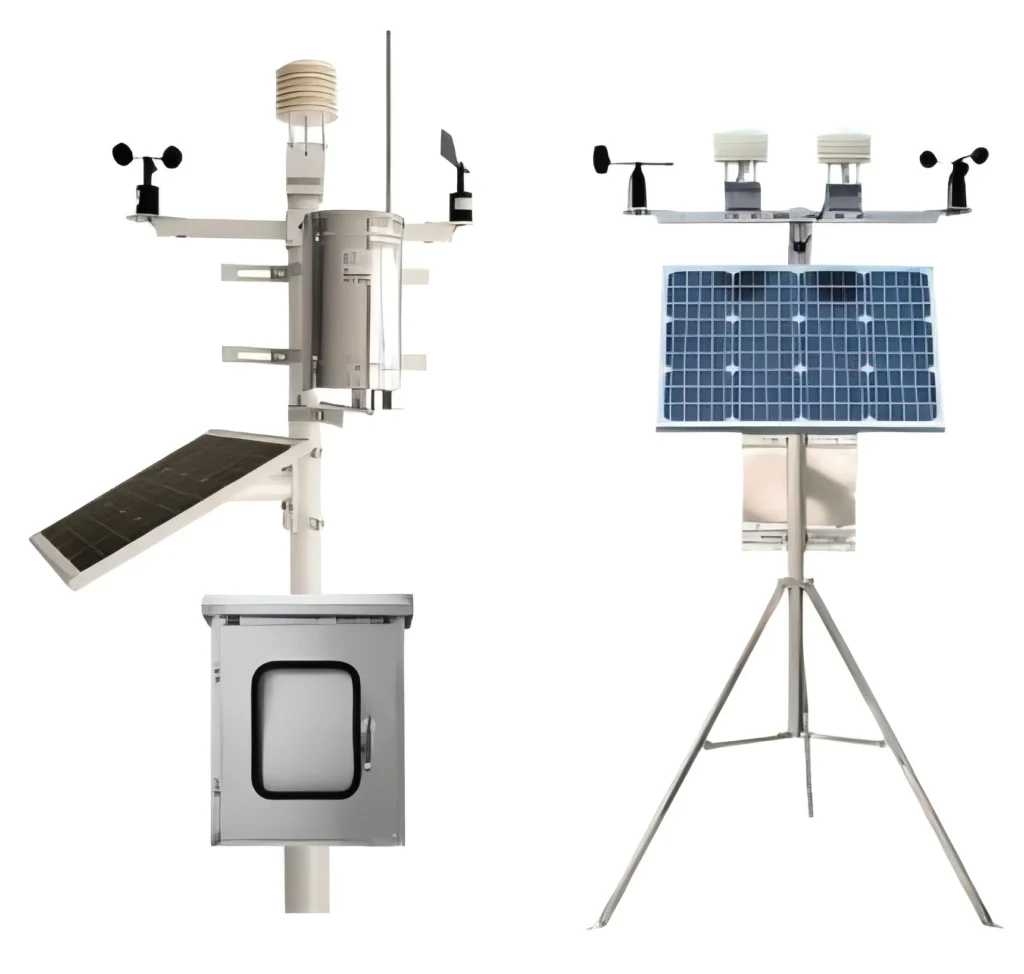
Before installation, make sure all components are assembled correctly. Your Acurite weather station typically includes:
– **Display Console**: This is the main unit that shows weather data.
– **Outdoor Sensors**: These measure temperature, humidity, wind speed, and rainfall.
– **Mounting Hardware**: Brackets, screws, and other tools needed for installation.
Follow the manufacturer’s instructions to assemble each component. Double-check connections to ensure everything is secure.
## Mounting the Outdoor Sensors
Once assembled, it’s time to mount the outdoor sensors. Here’s how:
1. **Secure the Mounting Bracket**: Use the provided screws to attach the bracket to a stable surface, such as a pole or wall.
2. **Attach the Sensors**: Place the sensors onto the bracket and tighten them securely.
3. **Position for Accuracy**: Ensure the rain gauge is level and the anemometer (wind sensor) is positioned to catch wind from all directions.
## Setting Up the Display Console
With the outdoor sensors in place, focus on the display console:
1. **Power On**: Insert batteries or plug in the console, depending on the model.
2. **Sync the Sensors**: Follow the instructions to pair the console with the outdoor sensors. This usually involves pressing a sync button on both devices.
3. **Calibrate**: Some models allow for calibration to ensure accurate readings. Refer to the manual for specific steps.
## Testing and Troubleshooting
After installation, test your weather station to ensure everything is working correctly:
– **Check Readings**: Compare the data with local weather reports to verify accuracy.
– **Signal Strength**: Ensure the console receives a strong signal from the outdoor sensors. If not, consider relocating the sensors or console.
– **Battery Life**: Monitor battery levels and replace them as needed to maintain consistent performance.
## Maintenance Tips
To keep your Acurite weather station functioning optimally, follow these maintenance tips:
– **Regular Cleaning**: Clean the rain gauge and sensors periodically to prevent debris buildup.
– **Inspect Mounting Hardware**: Check for loose screws or brackets and tighten them as necessary.
– **Update Firmware**: If your model supports it, keep the firmware updated for improved performance and new features.
By following this guide, you’ll have your Acurite weather station up and running in no time. Enjoy the convenience of having accurate weather data at your fingertips!
Keyword: acurite weather station installation